Zapier Integration Add-on
Connect your WebForms 3 forms to 2,000+ applications through Zapier without writing any code. Send form submission data instantly to Zapier and automate workflows with CRMs, messengers, email marketing tools, spreadsheets, and more.
Installation
warning
You need to have WebForms Pro 3 installed prior to this add-on installation.
Install the package with commands:
composer require mageme/module-webforms-3-zapier
php bin/magento module:enable MageMe_WebFormsZapier
php bin/magento setup:upgrade
Update
Update the package with commands:
composer update
php bin/magento setup:upgrade
Remove
Uninstall the package with command:
composer remove mageme/module-webforms-3-zapier
Zapier Setup
- Log in to your Zapier account (free or paid).
- Create a new Zap.
- Select Webhooks by Zapier as the trigger app.
- Choose Catch Hook as the trigger event.
- Copy the provided webhook URL — you will need it for the form configuration below.
Form Configuration
Edit the form on Manage Forms page and select the Zapier Integration Settings tab.
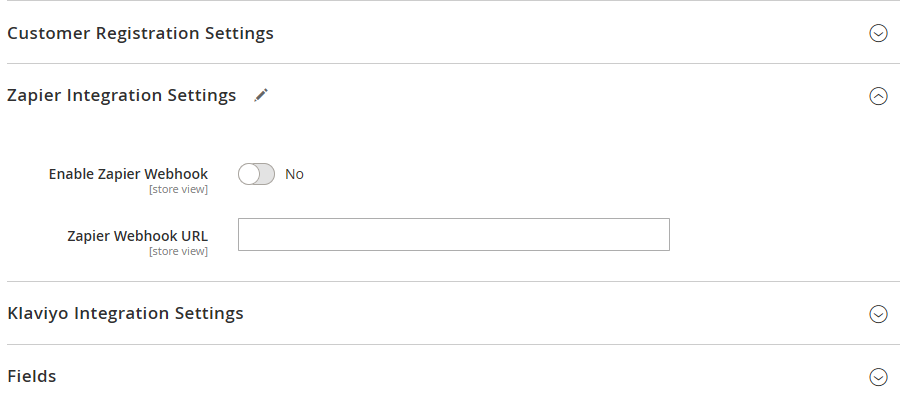
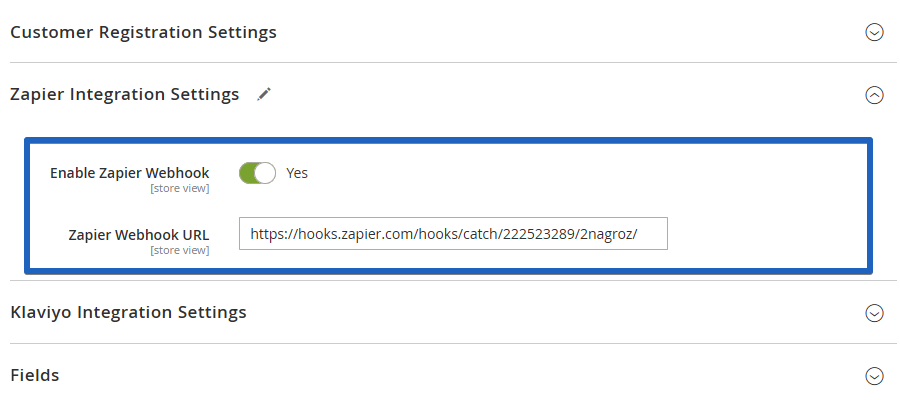
Enable Zapier Webhook
Toggle to enable sending form submission data to Zapier on each new submission.
Webhook URL
Paste the webhook URL you copied from the Zapier trigger setup.
Transmitted Data
Each form submission sends the following data to Zapier:
- All field values
- Submission metadata (date, time, IP address, store view)
- Customer information (if logged in)
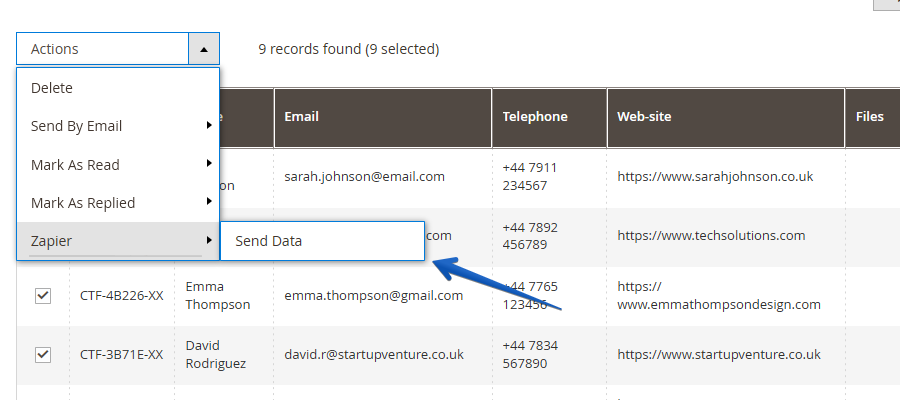
Sending Historical Submissions
You can bulk-send existing submissions to Zapier:
- Navigate to Stores → WebForms → Manage Results.
- Select the desired submissions.
- Choose Actions → Zapier → Send Data.
Limitations
- File uploads are not yet supported.
- One webhook URL per form. Use Zapier Paths to route data to multiple destinations.